User Guide: Tasks – Quickly Create To Do’s
The v5.1 release has introduced many new time-saving enhancements to the product. We’re posting the updated User Guide over the next few weeks.
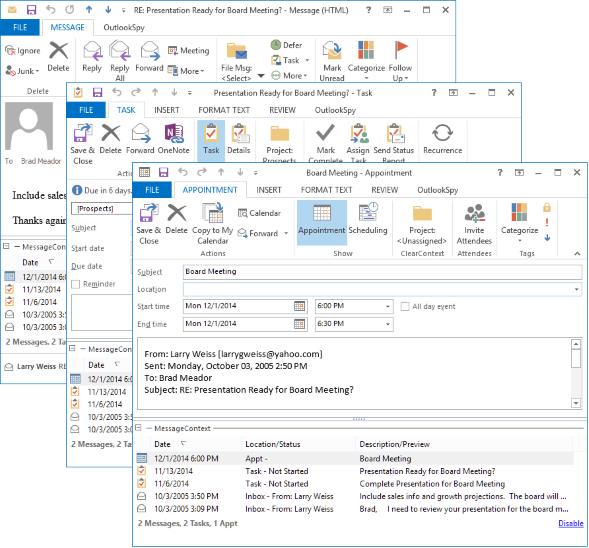
The ClearContext Task button allows you to quickly add an email to your task list. Clicking Task will open a new Outlook task with the subject of the email and contents pasted into it and the original message attached. Set a due date and save to enter into your task list.
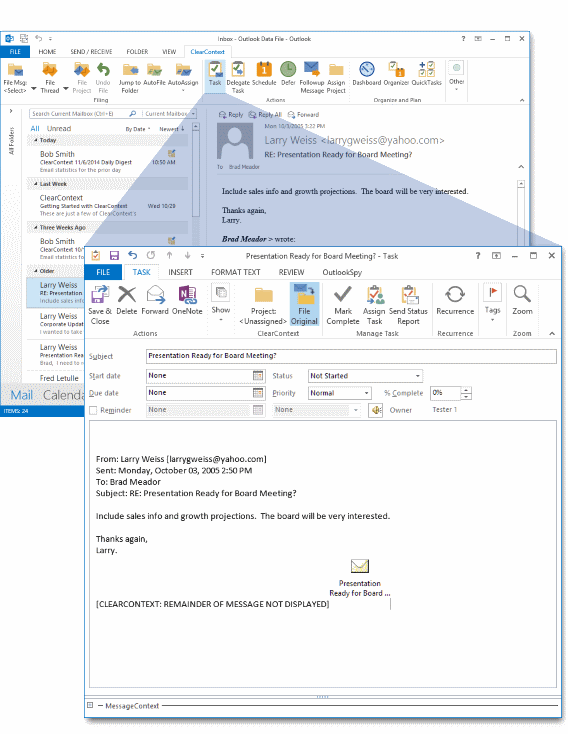
Once the task is created from a message, it is associated with the email conversation and will appear in the original conversation’s MessageContext.
Project Assignment
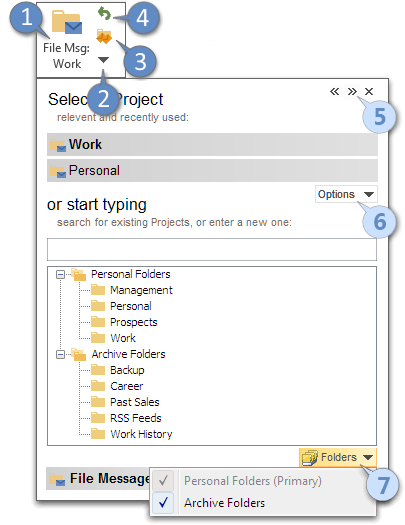
The Project field in a task is pre-populated with the original email’s project. If one has not been assigned previously, ClearContext will query for a Project assignment when creating a task. This allows you to view this information by Project in the ClearContext Dashboard. Turn this feature on/off via Project Assignment on New Tasks at ClearContext > Options > Tasks/Appts.
File Original
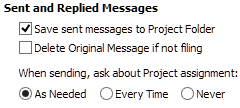
![]() When creating a task from an email, ClearContext can automatically file the original message, moving it out of the Inbox and saving the need to deal with it again. Enable File Original on the task toolbar and ClearContext will move the message you are creating the task from into the Project folder you select. ClearContext remembers this option the next time you create an appointment.
When creating a task from an email, ClearContext can automatically file the original message, moving it out of the Inbox and saving the need to deal with it again. Enable File Original on the task toolbar and ClearContext will move the message you are creating the task from into the Project folder you select. ClearContext remembers this option the next time you create an appointment.
Task Options
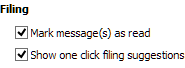
By default, ClearContext truncates the text of long emails and attaches a copy of the message when copying creating an appointment or task. Turn these features on/off via the miscellaneous ClearContext Preference tab – ClearContext > Options > > Tasks/Appts.
Creating Custom Task Views that Include the Project Name

The Dashboard is the quickest way to view all To Do items, including Tasks and Appointments, by Project name. If desired, the Project name can be added to custom task views so that tasks within the native Outlook task pane can be sorted by Project as well. To add Project name to a Task view:
- Go to the task pane and click on the view that you want to alter.
- Right click the header on the tasks list (i.e. where it says Subject, Due Date, etc.) and select "Field Chooser."
- Select "Forms…" in the drop down where it says "Frequently Used Fields:"
- In the "Select Enterprise forms for this folder" dialog select Personal Forms (if it is not already selected).
- If Show Categories is checked, uncheck it.
- Highlight ClearContext and press Add…
- Close the current dialog.
- In the Field chooser, add CC-TopicName by clicking it and dragging it to the headers you initially right clicked.
- Exit out of the field chooser.
- If desired, change the name of the header on this field by right clicking “CC-TopicName”, selecting Format Columns, and changing the Label.
- Repeat for each view that you want to alter.
Custom Forms Support
If you would like to use a custom Outlook form for task generation when pressing the Task button, specify that form viaClearContext > Options > Tasks/Appts. Under Create Tasks and Appointments with Custom Forms, add the message class you wish to use. For example, IPM.Task.MyTaskForm.
Creating a Single Task from Multiple Emails
If you have several emails that you want to convert to a single task, select one of the messages and click the Task button. Before you save the task, drag the additional messages you want to associate with the task from the Inbox onto the task. They will be automatically attached to the item.

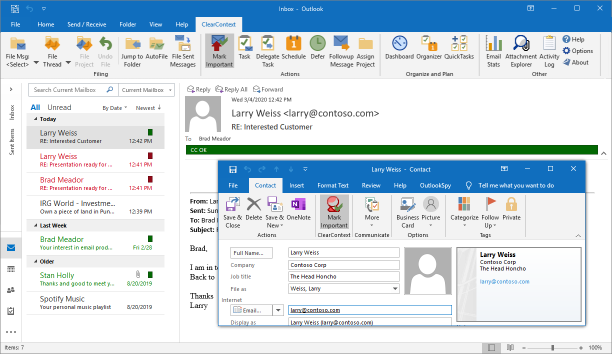
 During initial setup, ClearContext analyzes email history to determine email addresses from which you send and receive the most email. Using this information, your VIP contacts are marked as important. By default, email received from these contacts are marked with category CC VIP and color-coded red. To manually mark a contact as a VIP, open the sender’s contact record and enable Mark Important.
 All messages from known senders are marked with category CC OK and color-coded green. These include messages from contacts that are in your address book – but not marked important – and messages from contacts that are not in your address book but are replying to conversations that you have already participated in.


 * File Project files all messages in the current Project